Composting sounds like something for serious gardeners, but it's genuinely one of the easiest, most rewarding habits you can start — and it turns your food scraps and garden waste into free, rich soil. If you've been collecting peelings and wondering what's next, this is it.
Composting for beginners comes down to a few simple rules about what to add and how to keep the pile happy. Here's everything you need to start a compost that actually works.
Why bother
Composting keeps waste out of landfill (where it produces methane), gives you a free soil improver worth real money, and closes the loop between your kitchen and your garden.
What you'll need
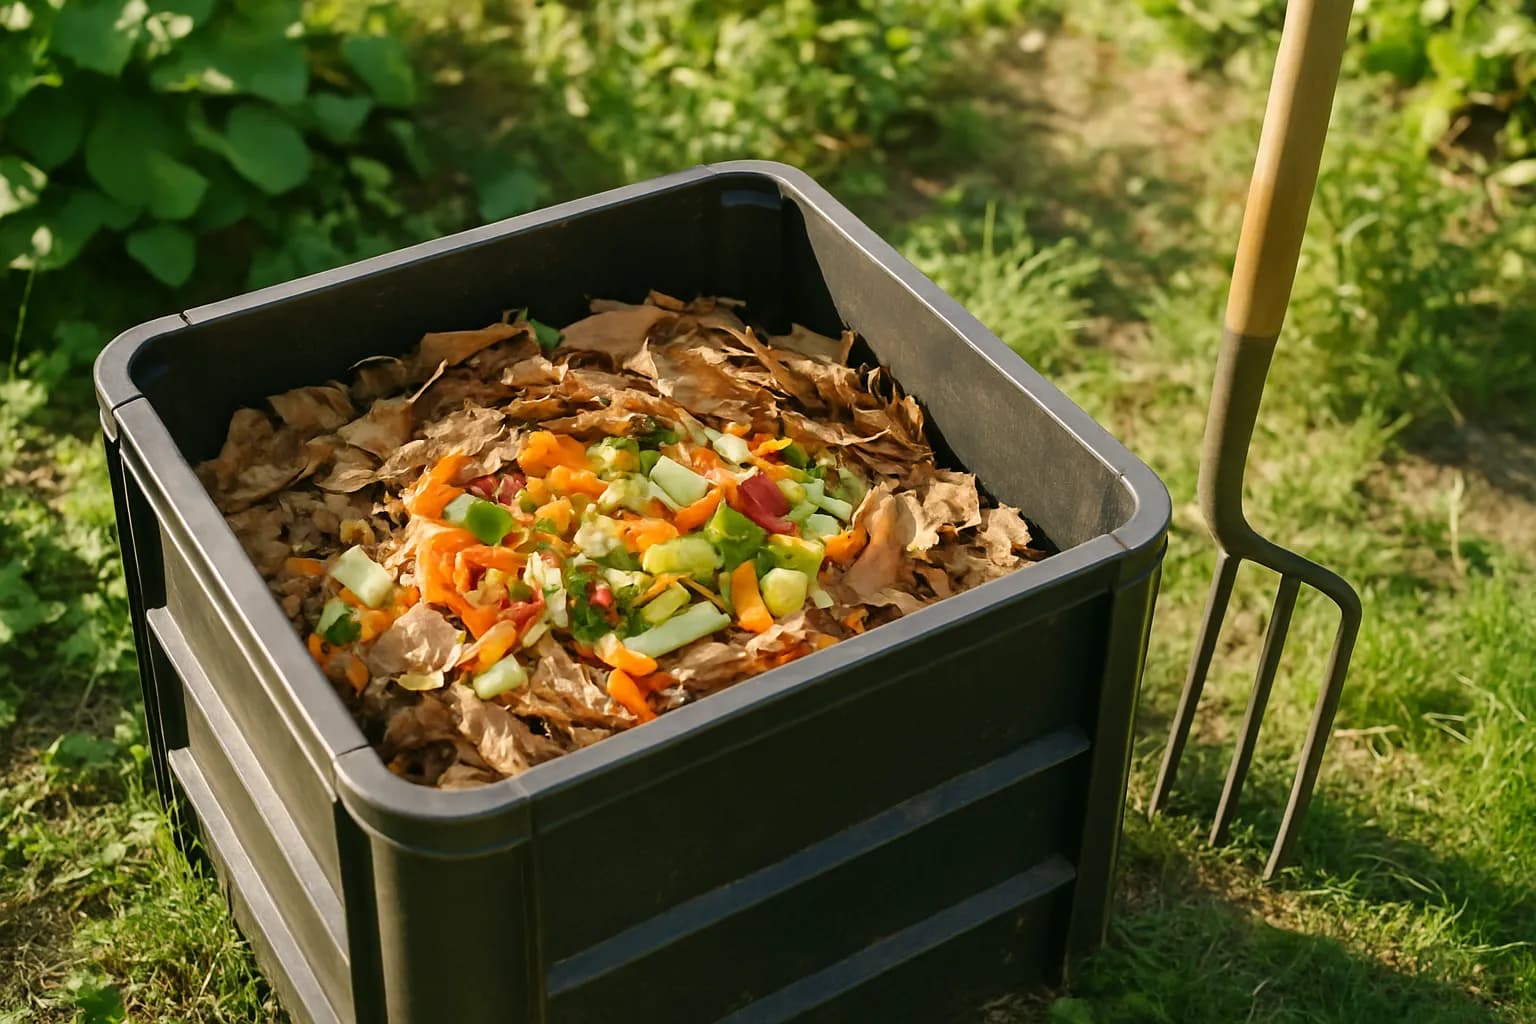
- A compost bin, tumbler, or simply a heap in a corner — a bin keeps it tidy and warm.
- A level, partly shaded spot in contact with the soil, so worms can get in.
- A garden fork for turning.
The one rule: greens and browns
- Greens (nitrogen, wet): vegetable peelings, fruit scraps, grass clippings, coffee grounds, tea, fresh trimmings.
- Browns (carbon, dry): dead leaves, cardboard, shredded paper, straw, twigs, egg boxes.
Aim for a rough balance, leaning slightly toward browns. Too many greens turns it slimy and smelly; too many browns and it dries out and stalls.
What NOT to compost
Meat, fish, dairy, and oily cooked food (pests and smell), pet waste, diseased plants, seeding weeds, and glossy paper all stay out of a home pile.
Build and maintain it
- Start with a layer of twiggy browns at the base for airflow.
- Add greens and browns in alternating layers as you go.
- Keep it as damp as a wrung-out sponge — water in dry spells, add browns if it's soggy.
- Turn it with a fork every few weeks to add air, which speeds things up and stops smells.
- Wait. In three to twelve months it becomes dark, crumbly, earthy-smelling compost.
- Harvest from the bottom and spread it on beds, pots, and your hugelkultur bed.
How to tell when your compost is ready
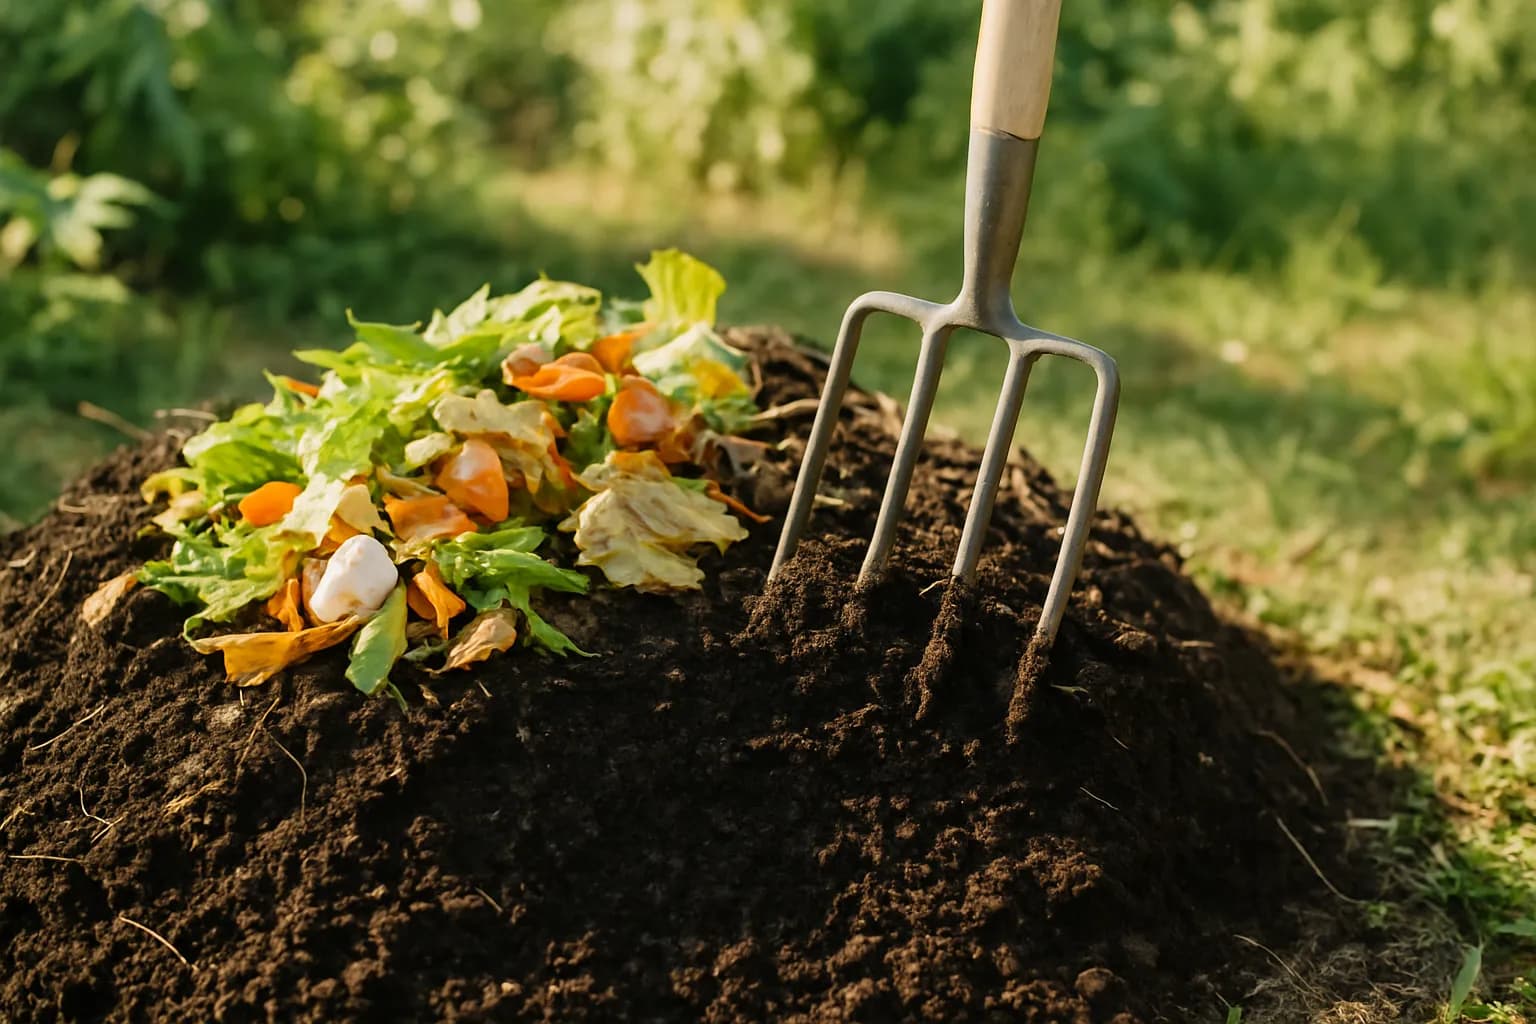
Finished compost looks nothing like the scraps you put in: it is dark brown, crumbly, and smells sweetly of earth rather than of rotting food. You should not be able to recognise most of the original ingredients — a few tough stalks or eggshell bits are fine. It usually takes three to twelve months depending on the weather, how often you turn it, and how small you chopped things. If in doubt, sieve the crumbly stuff from the bottom and toss any big unfinished pieces back in to keep going.
Ecoxee is an Amazon Associate and may earn from qualifying purchases through these links. Learn more.

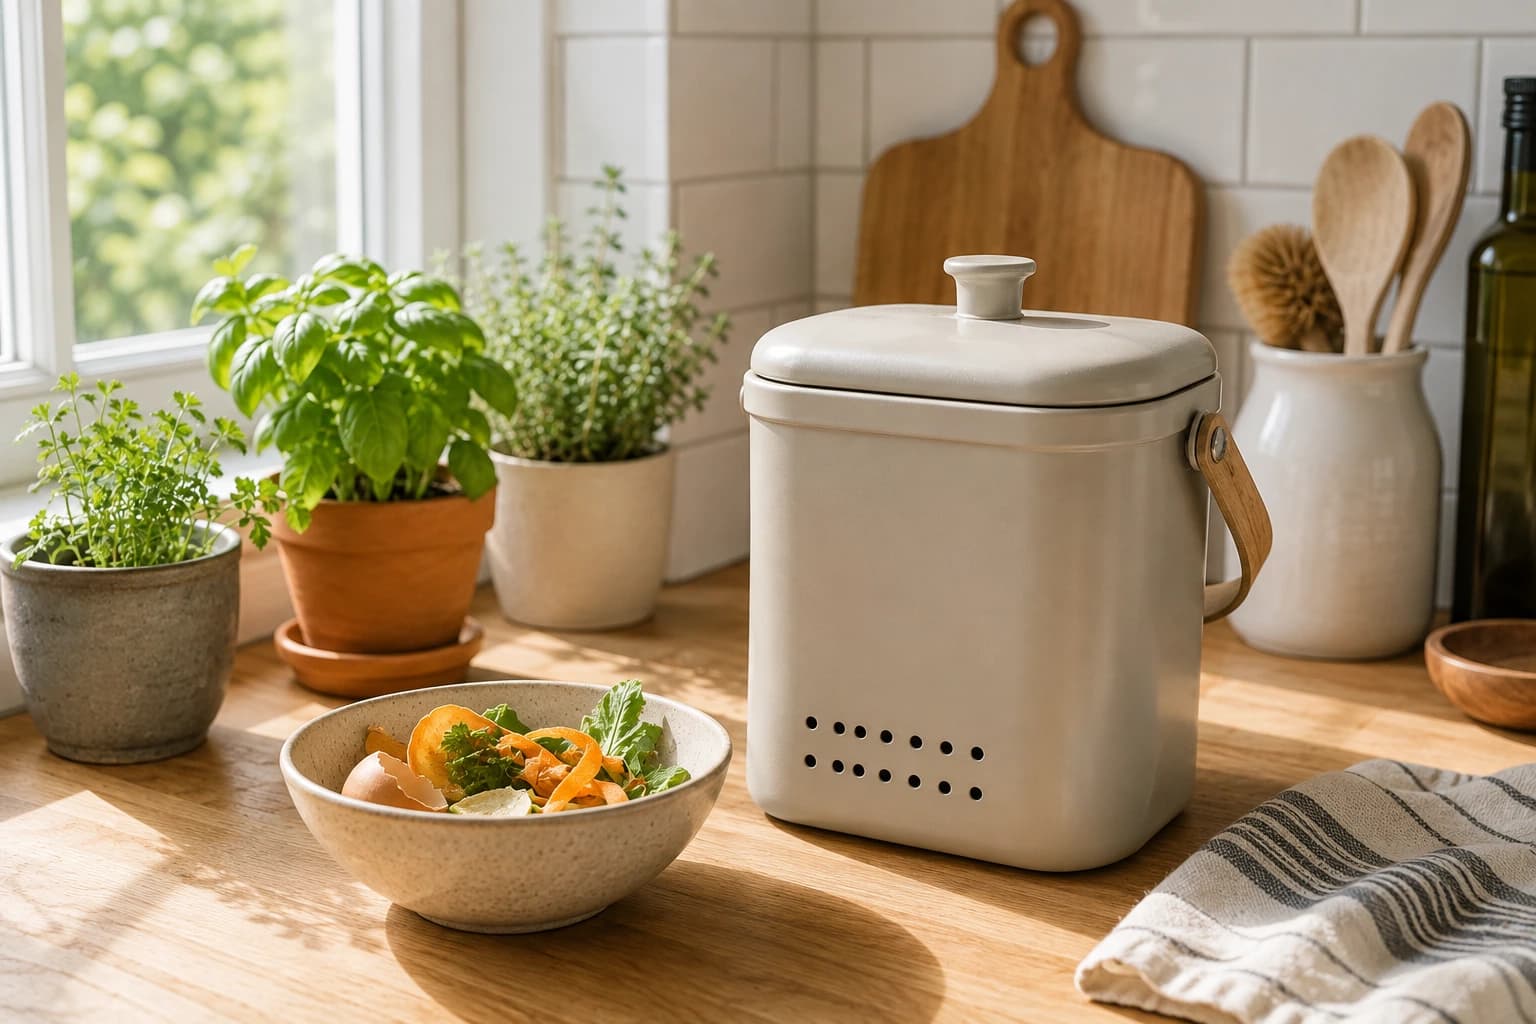
Epica Countertop Compost Bin (1.3 Gallon)
A durable stainless-steel countertop caddy with an airtight lid and charcoal filter to collect food scraps odor-free. The bin that makes kitchen composting livable, if you have somewhere to compost the scraps.
Read our full review →Quick troubleshooting
- Smelly or slimy? Too wet or too many greens — add browns and turn it.
- Dry and not breaking down? Add greens and a little water.
- Attracting pests? Bury food scraps under browns and keep meat out.
- Too slow? Turn it more often and chop scraps smaller.
Just started a heap? Share what you're composting in the comments at ecoxee.com — we'll help you troubleshoot.
Keep reading: How to Attract Pollinators to Your Garden, How to Set Up a DIY Rain Barrel, and Vegetable Container Gardening for Small Spaces.