Composting starts with one small habit: a place to toss your food scraps that isn't the trash. You don't need a pricey stainless caddy — a countertop compost bin made from household items you already own works just as well and looks better on the counter.
It's the little gateway between your cutting board and your garden (or your city's green bin). Here's how to make one in five minutes and keep it completely odor-free.
What a countertop bin actually does
Quick reality check: this caddy isn't where composting happens. It's a temporary holding spot — scraps collect here, then move to your outdoor pile, municipal green bin, or a community drop-off. Its only real job is to be convenient and to keep smells and fruit flies away until then.
What you'll need (household items)
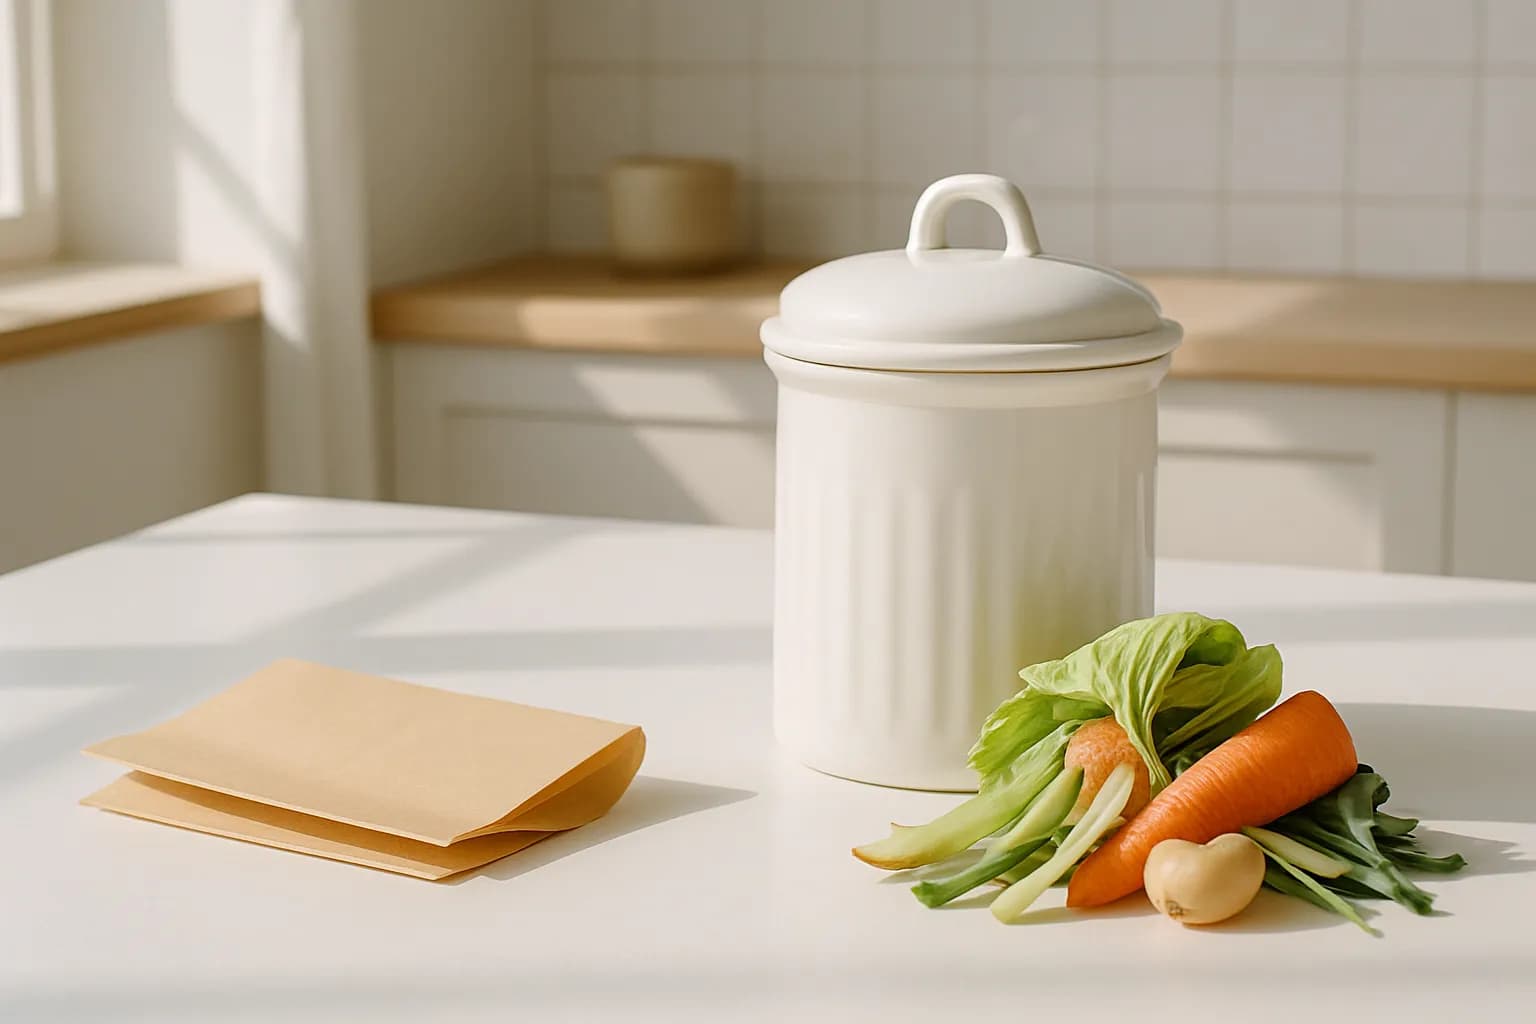
- A lidded container, roughly 1–2 litres — an old ceramic canister, a big glass jar with a screw lid, a coffee tin, a lidded pot, or an ice-cream tub.
- Newspaper or a paper bag for lining.
- Optional: an activated charcoal pad, a spoon of baking soda, or a small crock if you want it prettier on show.
Make it
- Choose your container — 1–2 litres with a lid that seals reasonably well. Bigger than that and scraps sit too long and start to smell.
- Handle odor. If the lid seals tightly, you're set — just empty often. If it doesn't, tape a thin charcoal pad inside the lid so air moves without carrying smell.
- Line the base with a sheet of newspaper or a flattened paper bag.
- Place it where you'll use it — on the counter by the chopping board, or just inside an under-sink cupboard. Convenience is the whole game; a bin you have to walk to gets ignored.
- Empty every two to three days into your outdoor compost, green bin, or drop-off.
What goes in (and what to skip)
Toss in: fruit and vegetable scraps, coffee grounds and paper filters, tea, crushed eggshells, plant trimmings, and torn-up paper towel.
Skip, for most home compost piles: meat, dairy, and oily food, which attract pests and smell. (Many municipal green-bin programs do accept these — check what yours takes.)
Keep it odor- and fly-free
- Empty often — this solves 90% of problems.
- Keep the lid on between scraps.
- Layer in a little paper to soak up moisture; wet scraps are what stink.
- Freeze scraps in the container if you only compost weekly — no smell, no flies.
- Rinse after emptying and let it dry before the next round.
Small bin, big habit
The magic of a countertop caddy isn't the container — it's that having one right there turns "I should compost" into something you actually do, one apple core at a time. Start with a jar you already own, and upgrade later if you feel like it.
Made a caddy from something clever? Show us in the comments at ecoxee.com — the best zero-waste hacks are always the ones hiding in your own cupboard.
Keep reading: Eco-Friendly Alternative to Ziploc Bags for Snacks, How to Organize a Zero-Waste Laundry Room, and How to Store Root Vegetables Without Plastic Bags.