Contents
- Which flowers press best
- Method 1: How to press flowers in a book
- Method 2: The microwave method (for the impatient)
- Method 3: The iron method
- Method 4: Using a flower press
- How to make a DIY flower press
- How long does pressing take?
- Keeping the colour
- What to make with pressed flowers
- Troubleshooting
- Frequently asked questions
- Press on
Pressing flowers turns a summer bloom into something you can keep for years — a bookmark, a framed picture, a card. It's one of the oldest, simplest nature crafts, and you can start with nothing more than a heavy book. This guide covers four ways to press flowers, from the classic book method to a proper press, plus how to build your own DIY flower press and what to make with the results.
Which flowers press best
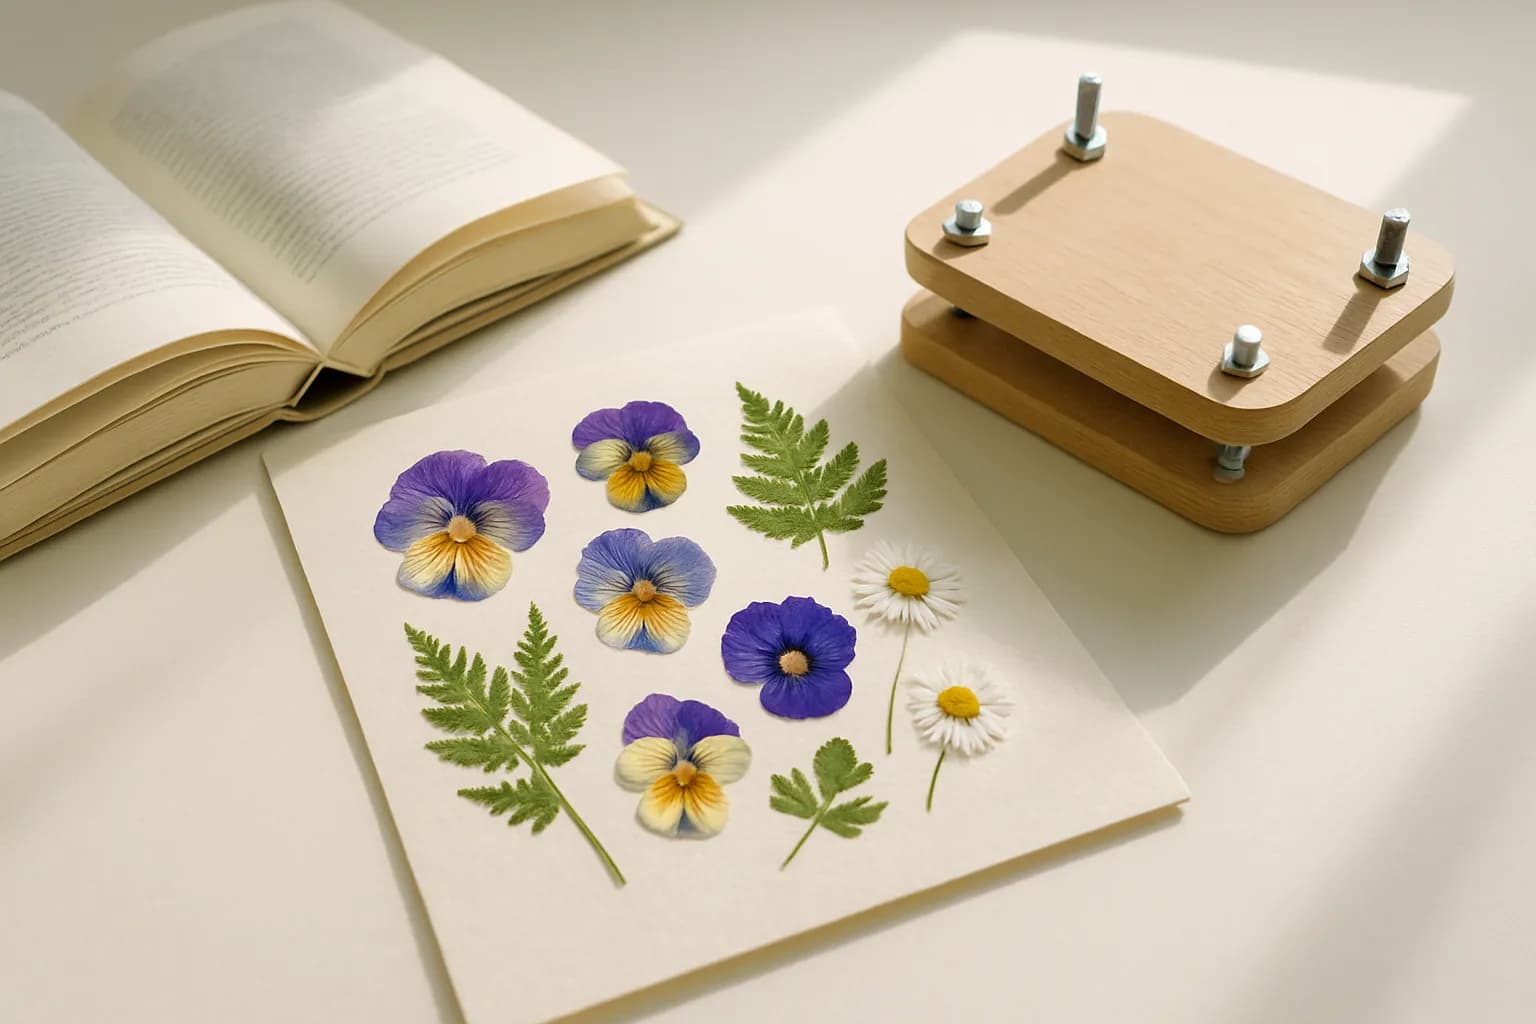
Flat, low-moisture flowers press beautifully; thick, fleshy ones tend to brown or mould. Good choices: pansies, violas, cosmos, larkspur, daisies, poppies, ferns, and most leaves. Trickier: roses, tulips, and anything with a bulky centre — press these in halves or petal by petal. Pick flowers when they're dry, once the morning dew has gone, and blot any moisture before pressing.
Method 1: How to press flowers in a book
The classic, no-equipment method.
- Open a thick, heavy book you don't mind marking (an old phone book or textbook is ideal).
- Line the open pages with parchment or plain paper — never printed pages, and never directly on the book, which can stain.
- Arrange your flowers face-down, not touching, and close the book gently.
- Stack more heavy books on top and leave somewhere dry for 2 to 4 weeks.
- Check after two weeks; lift the flowers carefully with tweezers once they feel papery.
Method 2: The microwave method (for the impatient)
Pressed flowers in minutes instead of weeks.
- Sandwich the flower between two sheets of parchment, then between two ceramic tiles or flat microwave-safe plates, held with an elastic band.
- Microwave in short 30-second bursts, checking between each, until the flower is dry and flat (usually 1–3 minutes total).
- Let it cool before lifting. Go slowly — flowers scorch easily.
Method 3: The iron method
Also quick, using a warm dry iron.
- Flatten the flower inside folded parchment first (a few minutes under a book).
- Set the iron to low with no steam, press down for 10–15 seconds, lift, and repeat until dry.
Method 4: Using a flower press
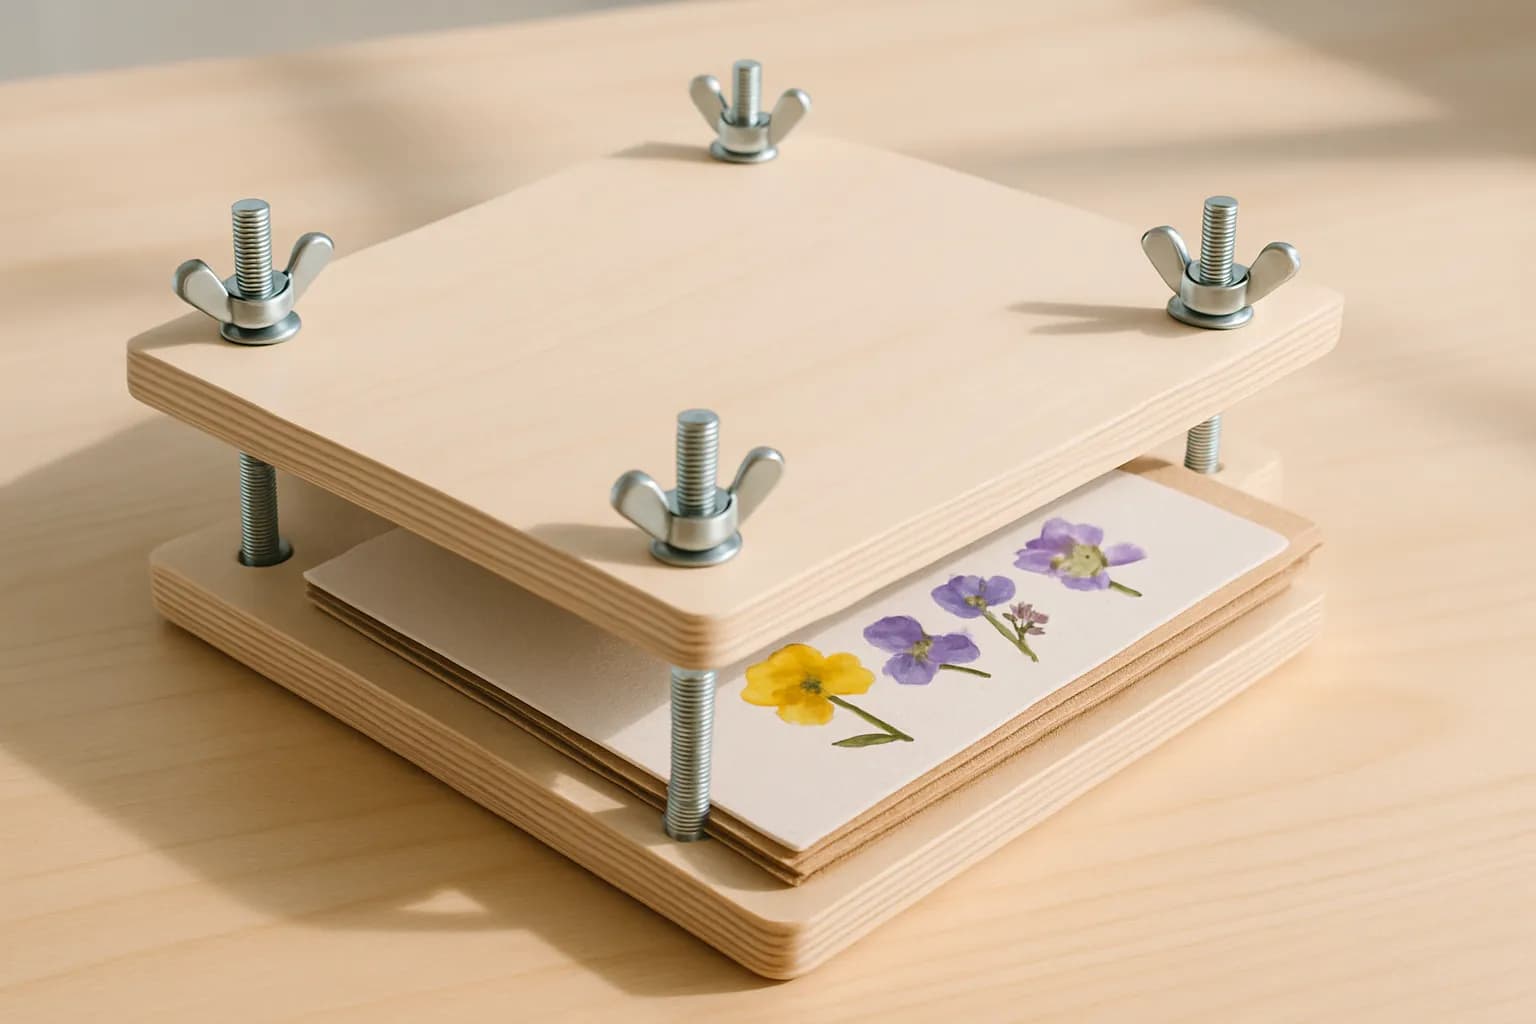
A dedicated flower press gives the flattest, best-preserved results, because it applies even pressure through layers of blotting cardboard. Stack flower, paper, cardboard, flower, paper, cardboard; tighten the bolts; and leave 2–3 weeks, tightening again as the flowers thin. It's the method to use if you press flowers often — and the easiest to make yourself.
How to make a DIY flower press
A homemade wood flower press costs pennies and lasts for years.
You'll need: two squares of plywood (about 6 by 6 inches), four bolts with wing nuts, a drill, and several pieces of thick cardboard and blotting or watercolour paper cut to size.
- Drill a hole in each corner of both plywood squares, lined up so the bolts pass through.
- Push the bolts up through the bottom board.
- Layer inside: cardboard, paper, flowers, paper, cardboard — and repeat.
- Add the top board and tighten the wing nuts evenly.
- Tighten a little more every few days as the flowers flatten.
Ecoxee is an Amazon Associate and may earn from qualifying purchases through these links. Learn more.

Wooden flower press kit (large, with tutorials)
A proper press gives the flattest, best-preserved blooms, and this one arrives gift-boxed with video tutorials, so it is the gentlest way in if you plan to press flowers regularly. The large boards happily take sizeable flowers and leaves, and the solid wood construction means it will last for many years of pressing.

Aboofx flower pressing kit (11 inch, 10 layers)
Ten pressing layers let you preserve a big batch all at once, which is ideal when you are making garlands, cards, or gifts and do not want to wait weeks between small batches. The generous eleven-inch size comfortably fits larger blooms, ferns, and autumn leaves that a small press simply cannot accommodate.

Blotting paper refills (20 A4 sheets)
Absorbent blotting paper is what actually wicks moisture out of the petals for clean, mould-free results, and mould is the single most common reason home-pressed flowers turn brown. These reusable A4 sheets refresh a tired press and keep any press, homemade or shop-bought, working beautifully for many seasons to come.

Silica gel flower-drying crystals (5 lb, reusable)
For the fastest, most colour-true results, bury blooms in these crystals or tuck a little into your press to pull moisture out quickly, before the petals have a chance to brown. The colour-indicating dots change to show when they are saturated, and a low oven recharges them, so a single tub effectively lasts forever.
How long does pressing take?
- Book or press: 2–4 weeks for most flowers; thicker blooms take longer.
- Microwave or iron: minutes, but colours fade a little more.
Flowers are ready when they feel dry and papery and lift without sticking.
Keeping the colour
Bright flowers hold colour best; blues and yellows keep, deep reds often darken. Press flowers as fresh as possible, dry them quickly (silica gel or the microwave help), and keep finished pressings out of direct sunlight, which bleaches them.
What to make with pressed flowers
- Frame them, or press them into a card or a bookmark.
- Seal them into nature suncatchers alongside pressed leaves.
- Add them to salt dough ornaments or homemade paper.
- Grow a pressing garden — flowers that also attract pollinators do double duty.
Troubleshooting
- Flowers turned brown? Too much moisture — blot before pressing and change damp paper.
- Mould? Same cause; use fresh dry paper, a drier spot, and add silica gel.
- Petals curling or sticking? Press sooner after picking, and lift with tweezers once fully dry.
- Faded to nothing? Some colours just fade; keep pressings out of sunlight to slow it.
Frequently asked questions
Can you press flowers in a book? Yes — line the pages with parchment, weigh the book down, and leave 2–4 weeks. It's the easiest method.
What's the fastest way to press flowers? The microwave method — minutes rather than weeks — though colours fade slightly more than slow pressing.
Which flowers press best? Flat, thin flowers: pansies, violas, cosmos, daisies, and ferns. Avoid thick, fleshy blooms.
How do I make a flower press? Bolt two squares of plywood together at the corners with wing nuts and layer cardboard and paper between them (full steps above).
Press on
Once you've pressed your first flower, you'll start seeing keepers everywhere — a wildflower on a walk, a bloom from a bouquet. Start with a heavy book today, build a press when you're hooked, and you'll have a drawer of summer to craft with all winter.
Pressed something lovely? Share it in the comments at ecoxee.com.
Keep reading: How to Tea-Dye Fabric: Natural Dyeing With Tea, Natural Fall Craft Ideas for Adults, and Scrap Yarn Crafts for Adults.