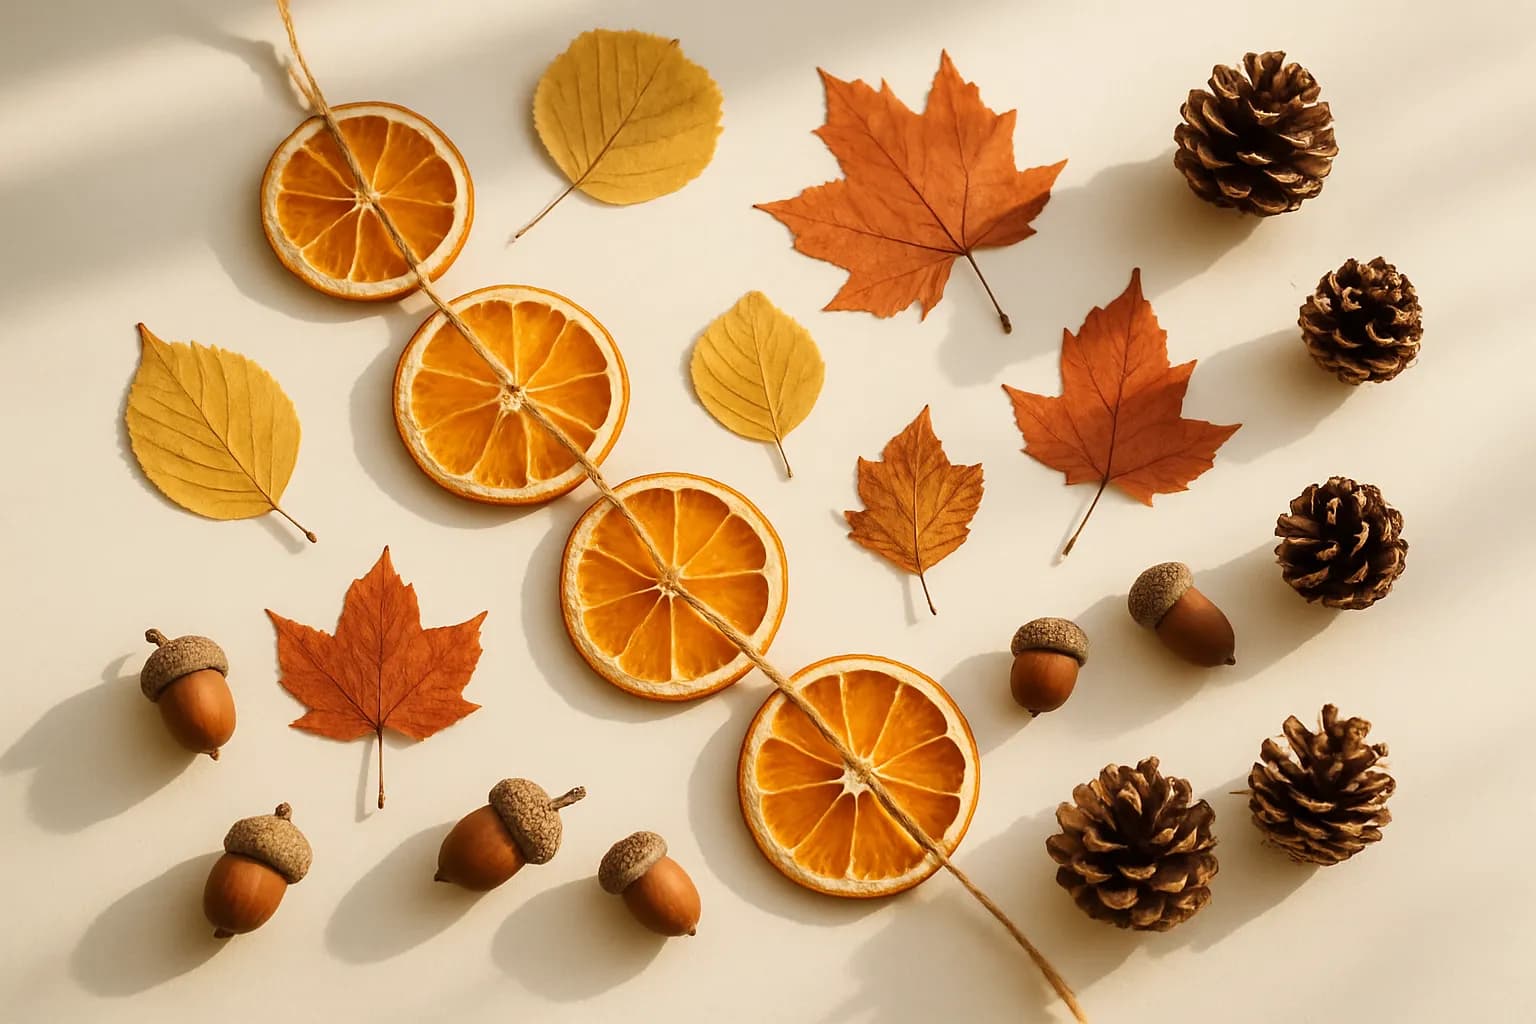
Dried orange slices are the cosiest, most natural decoration there is — garlands, ornaments, potpourri, even a drink garnish — and they cost nothing but a few oranges and a little patience. Here are three ways to dry them, how long each takes, and how to stop them browning or going mouldy.
Choosing and slicing your oranges
Use firm, fresh oranges and a sharp knife or a mandoline for thin, even slices — about a quarter-inch (5 mm). Even thickness is what makes them dry at the same rate. The single most important step: blot every slice dry with a towel first. Surface moisture is what leads to soggy, mouldy results.
Method 1: In the oven
The no-extra-kit method.
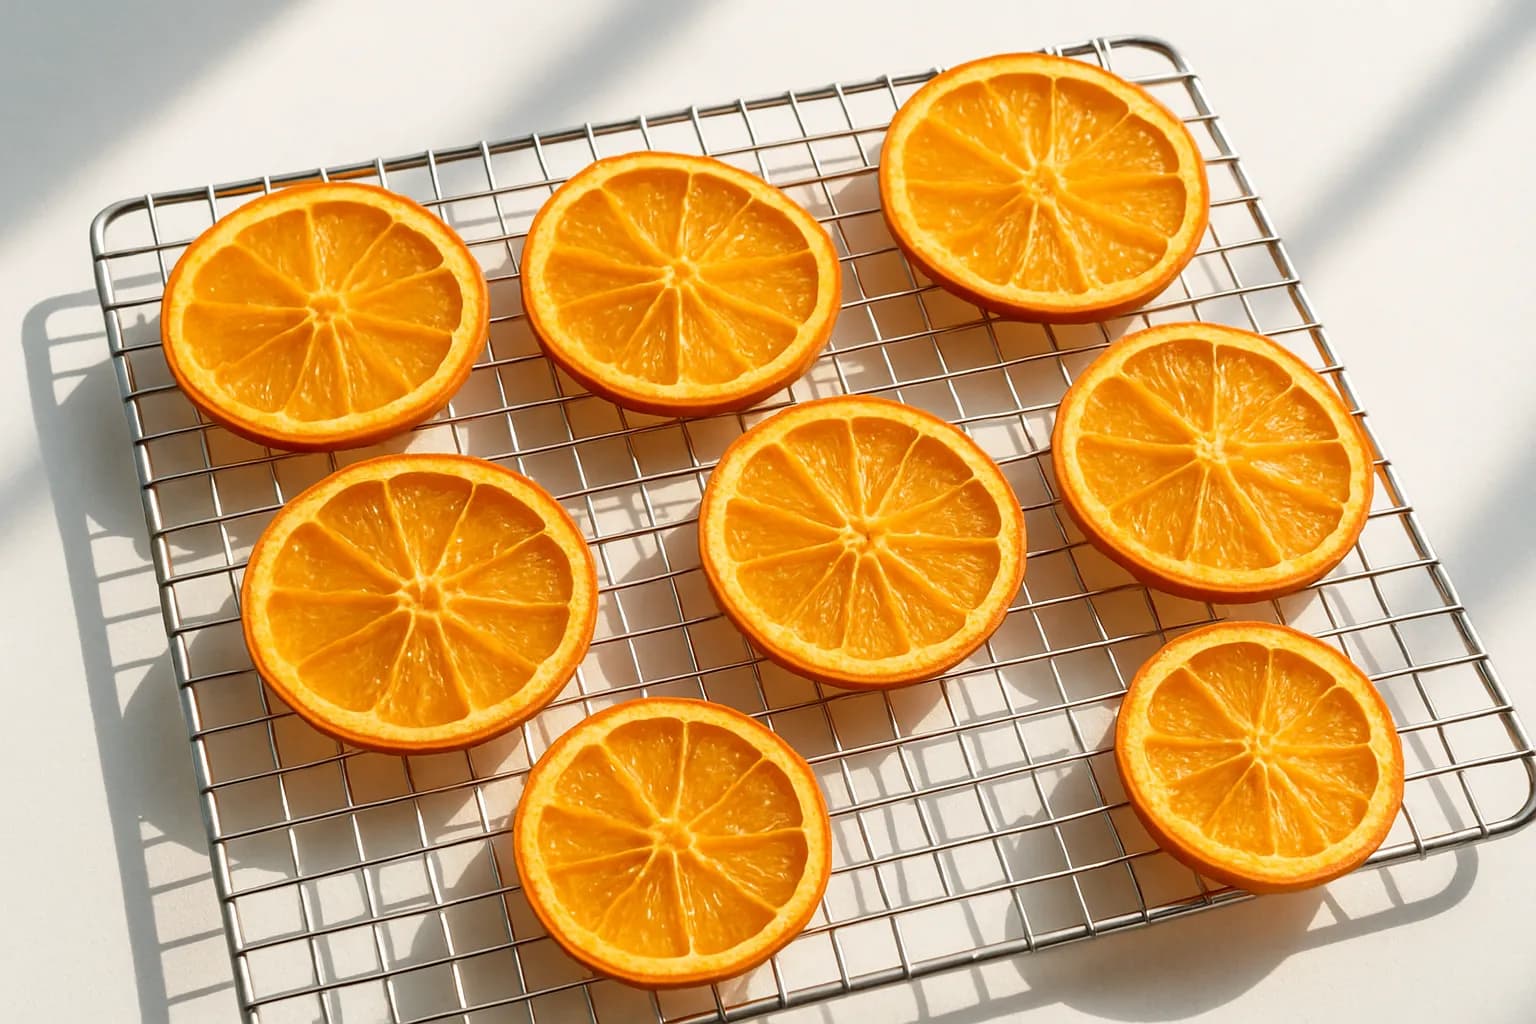
- Lay the blotted slices on a rack over a tray, or on parchment.
- Set the oven low — 200–250°F (90–120°C).
- Dry for 3–4 hours, turning every 30–45 minutes so they dry evenly.
- Prop the oven door open a crack (a wooden spoon works) so moisture can escape.
- They're done when leathery and dry, with no soft wet centre.
Method 2: In a dehydrator
The easiest and most even way, if you have one.
- Arrange slices in a single layer, not touching.
- Set it to about 135°F (57°C).
- Dry for 4–6 hours, flipping once halfway; thicker slices take longer.
Method 3: Air-drying
Slowest, and only reliable in a dry climate: string the slices or lay them on a rack somewhere warm and airy and leave for several days, turning occasionally.
How long does it take?
- Oven: about 3–4 hours at a low temperature.
- Dehydrator: about 4–6 hours at ~135°F (57°C).
- Air: several days.
Whatever the method, they're ready when leathery and dry all the way through.
Ecoxee is an Amazon Associate and may earn from qualifying purchases through these links. Learn more.

Cosori food dehydrator (5 trays)
The easiest and most even way to dry oranges: set the temperature, walk away, and come back to perfect leathery slices with no flipping and no scorched edges. Five trays handle a whole garland's worth in one go, and it quickly earns its keep on herbs, fruit leather, jerky, and homemade dried snacks.

Baker's twine (cotton, 700 ft)
For stringing your dried slices into a garland, natural cotton twine looks right where shiny nylon does not, and it composts at the end of the season. Seven hundred feet is enough for years of garlands, gift-wrapping, parcel-tying, and the hundred other small jobs a good ball of twine quietly solves around the house.

Dash foldable mandoline slicer
Even, thin slices are the real secret to oranges that dry at the same rate without soggy centres, and a mandoline makes them perfectly uniform far faster, and more safely thanks to the finger guard, than a knife ever will. It folds flat to store and speeds up everyday kitchen prep too.
What to make with them
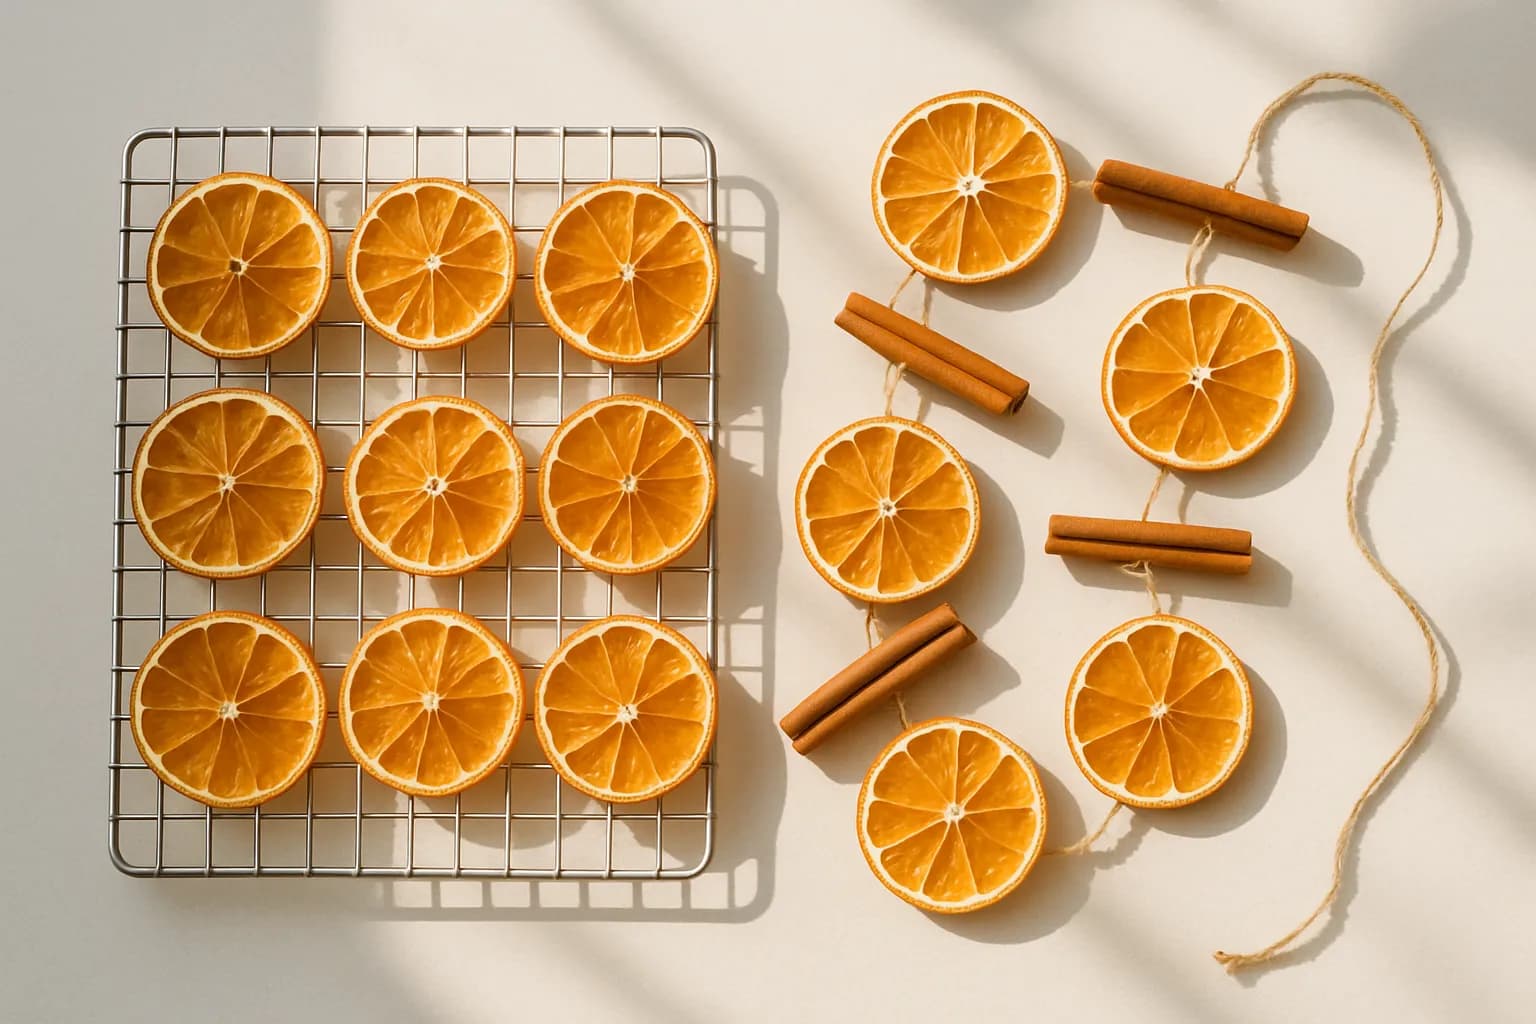
- Garlands — thread with twine, alternating with cinnamon sticks or star anise.
- Ornaments and wreath accents for a natural, seasonal look.
- Potpourri with spices and pine.
- Gift tags and drink garnishes.
They pair beautifully with salt dough ornaments on the same garland.
Keeping them
Make sure slices are completely dry before storing, then keep them in a paper bag or box somewhere dry. Don't seal not-quite-dry slices in an airtight container — trapped moisture causes mould. Stored well, they last several seasons.
Troubleshooting
- Sticky or soft in the middle? Not dry enough — back in for longer.
- Browned or scorched? The heat was too high; keep it low and slow.
- Mouldy in storage? Stored before fully dry, or sealed with moisture — dry completely and store somewhere airy.
Frequently asked questions
What temperature do you dry oranges in the oven? Low — 200–250°F (90–120°C) — for 3–4 hours, turning regularly.
How long does it take to dehydrate orange slices? About 4–6 hours at 135°F (57°C), depending on thickness.
Can you eat dried orange slices? Slices dried at food-safe temperatures are edible, but decorative ones are usually just for looks and scent.
How long do they last? Several seasons if fully dried and kept somewhere dry.
Bring the cosy
Once your kitchen smells of warm citrus, you'll want to dry a whole tray. Start with a few thin slices low and slow, and you'll have a garland's worth by evening.
Made a batch? Share your garland in the comments at ecoxee.com.
Keep reading: How to Press Flowers: 4 Methods + a DIY Flower Press, How to Tea-Dye Fabric: Natural Dyeing With Tea, and Natural Fall Craft Ideas for Adults.