Cling film is used once and gone forever — but a beeswax wrap does the same job for a year, then composts. Making your own reusable wraps is a genuinely satisfying afternoon project: a bit of cotton, some beeswax, and a warm iron is all it takes.
By the end you'll have a set of washable wraps for cheese, bread, and bowls, and one less roll of plastic in the drawer. Best of all, it's cheaper than buying them ready-made — and you control the fabric, the prints, and the sizes.
Why make your own
- Cheaper than buying them ready-made once you have the basics.
- Uses up cotton scraps and old shirts — the same thrifty spirit as turning old cotton tees into a hanging plant holder.
- Custom sizes for your actual bowls and lunchboxes.
- Fully compostable, and refreshable when the cling fades.
What you'll need
Essentials
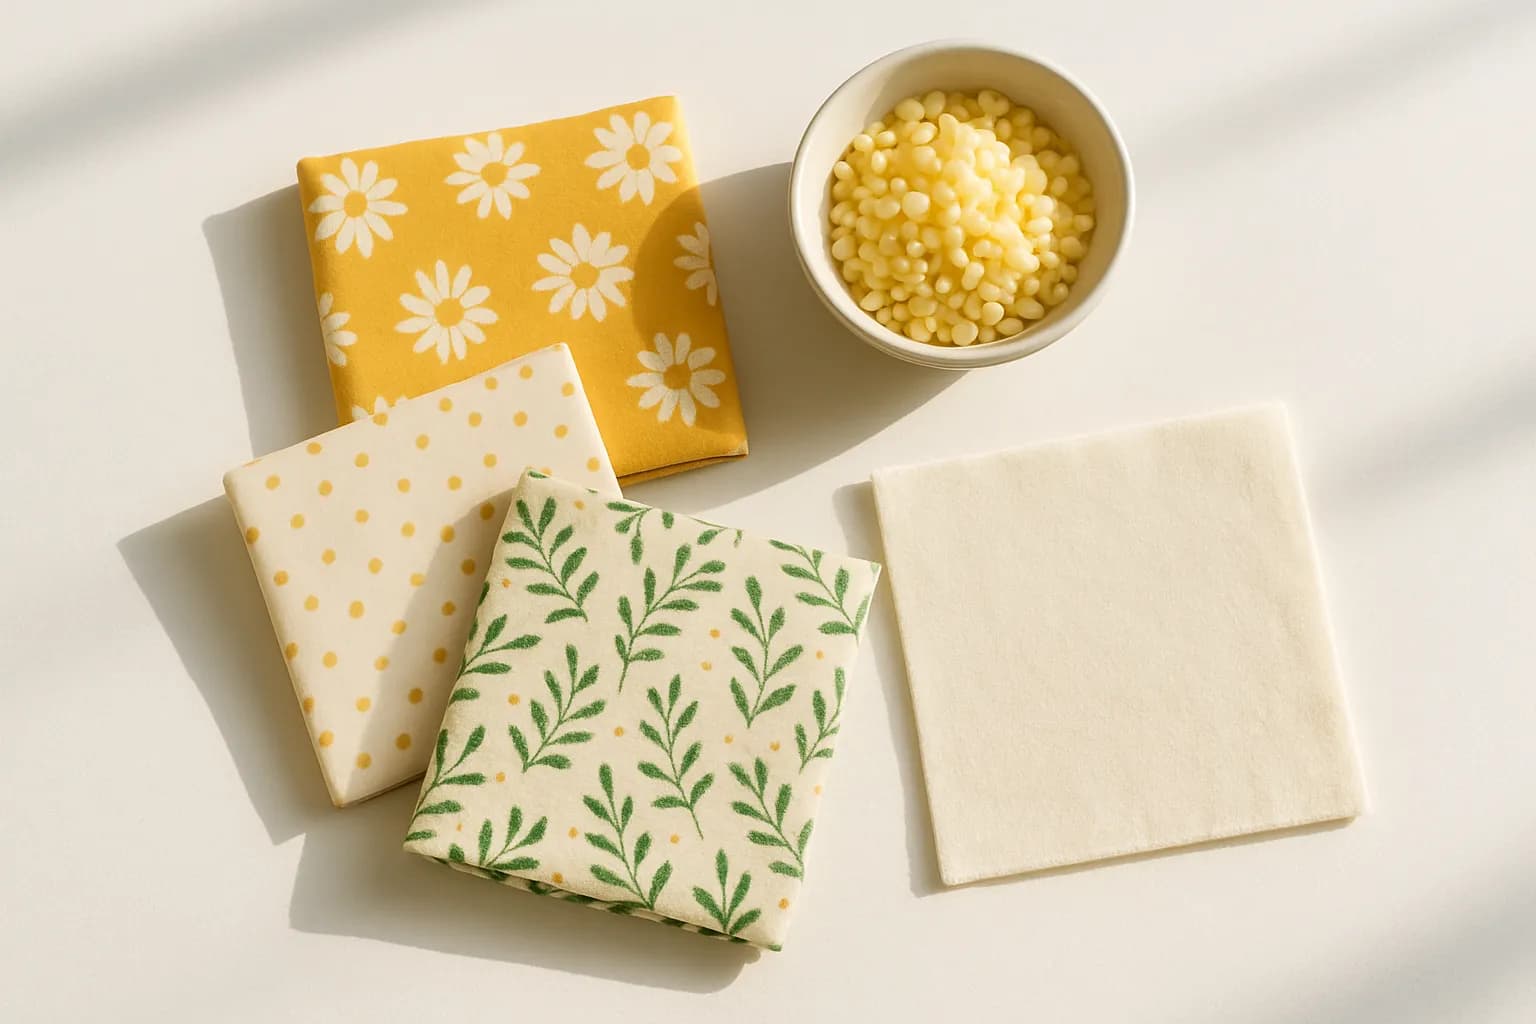
- 100% cotton fabric — thin and tightly woven (fat quarters, quilting cotton, or an old cotton shirt or pillowcase)
- Beeswax pellets (pastilles melt more evenly than a grated block)
- Pinking shears (the zigzag cut stops the fabric fraying)
- Baking parchment, an iron, and an old towel — or a baking sheet and oven
Optional (for stronger cling and longer life)
- Pine resin — a little makes the wrap tackier and grippier
- Jojoba oil — keeps the wrap flexible so it doesn't crack
- A grater — only if you use block beeswax instead of pellets
Ecoxee is an Amazon Associate and may earn from qualifying purchases through these links. Learn more.

White beeswax pellets (1 lb, cosmetic grade)
The heart of the recipe. Cosmetic-grade pastilles melt faster and far more evenly than a grated block, so the wax soaks cleanly through the cotton instead of pooling in patches. One pound coats a big batch of wraps with plenty left over for candles, lip balms, or refreshing your wraps later in the year.

Kona 100% cotton fat quarters (12-pack)
Twelve pre-cut 100% cotton prints save you a trip to the fabric shop and a lot of measuring and cutting. Tightly woven quilting cotton takes the wax beautifully and holds a soft crease, and the mix of patterns is more than enough to make a whole coordinated set of wraps in every size you need.

Fiskars pinking shears (8 inch)
The zigzag blades are the simple trick to wraps that do not fray at the edges, so they stay neat through months of washing, folding, and daily use. A quality pair like this stays sharp for years and quickly earns its place across every other fabric and paper project you take on.

Pure pine gum rosin (4 oz)
The optional upgrade that makes a real, noticeable difference. A spoonful of pine rosin melted in with the wax adds serious tack, so your finished wraps grip bowls and fold around cheese far more firmly, and hold that cling for much longer between refreshes. A little goes a very long way in every batch.
Method 1: the iron
- Cut your cotton to size with pinking shears.
- Lay the fabric between two sheets of parchment on a towel.
- Sprinkle beeswax pellets evenly over the fabric — a light, even scatter, less than you'd think.
- Iron the top parchment on a medium setting; the wax melts and spreads through the cloth. Add a few pellets to any dry patches and re-iron.
- Peel the wrap out and wave it in the air for a few seconds — it sets almost instantly.
Method 2: the oven
- Lay the fabric on a lined baking sheet and sprinkle with wax.
- Warm at about 180°F (80–90°C) for a few minutes until melted, then brush to spread it evenly.
- Lift it out and wave to cool.
Using them day to day
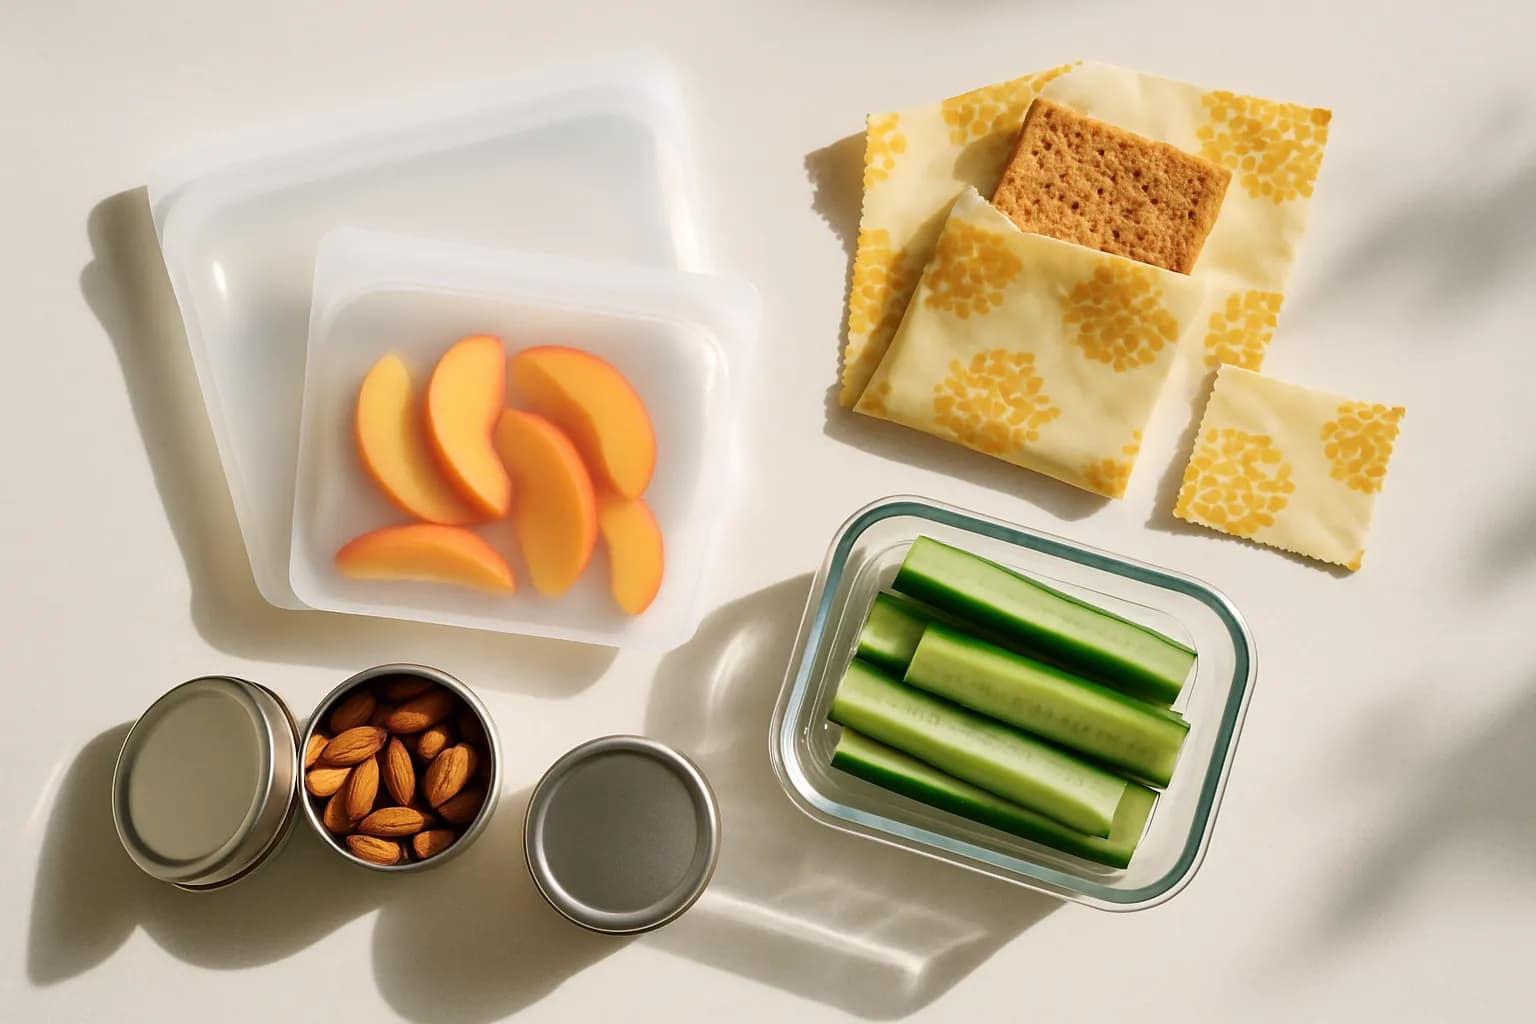
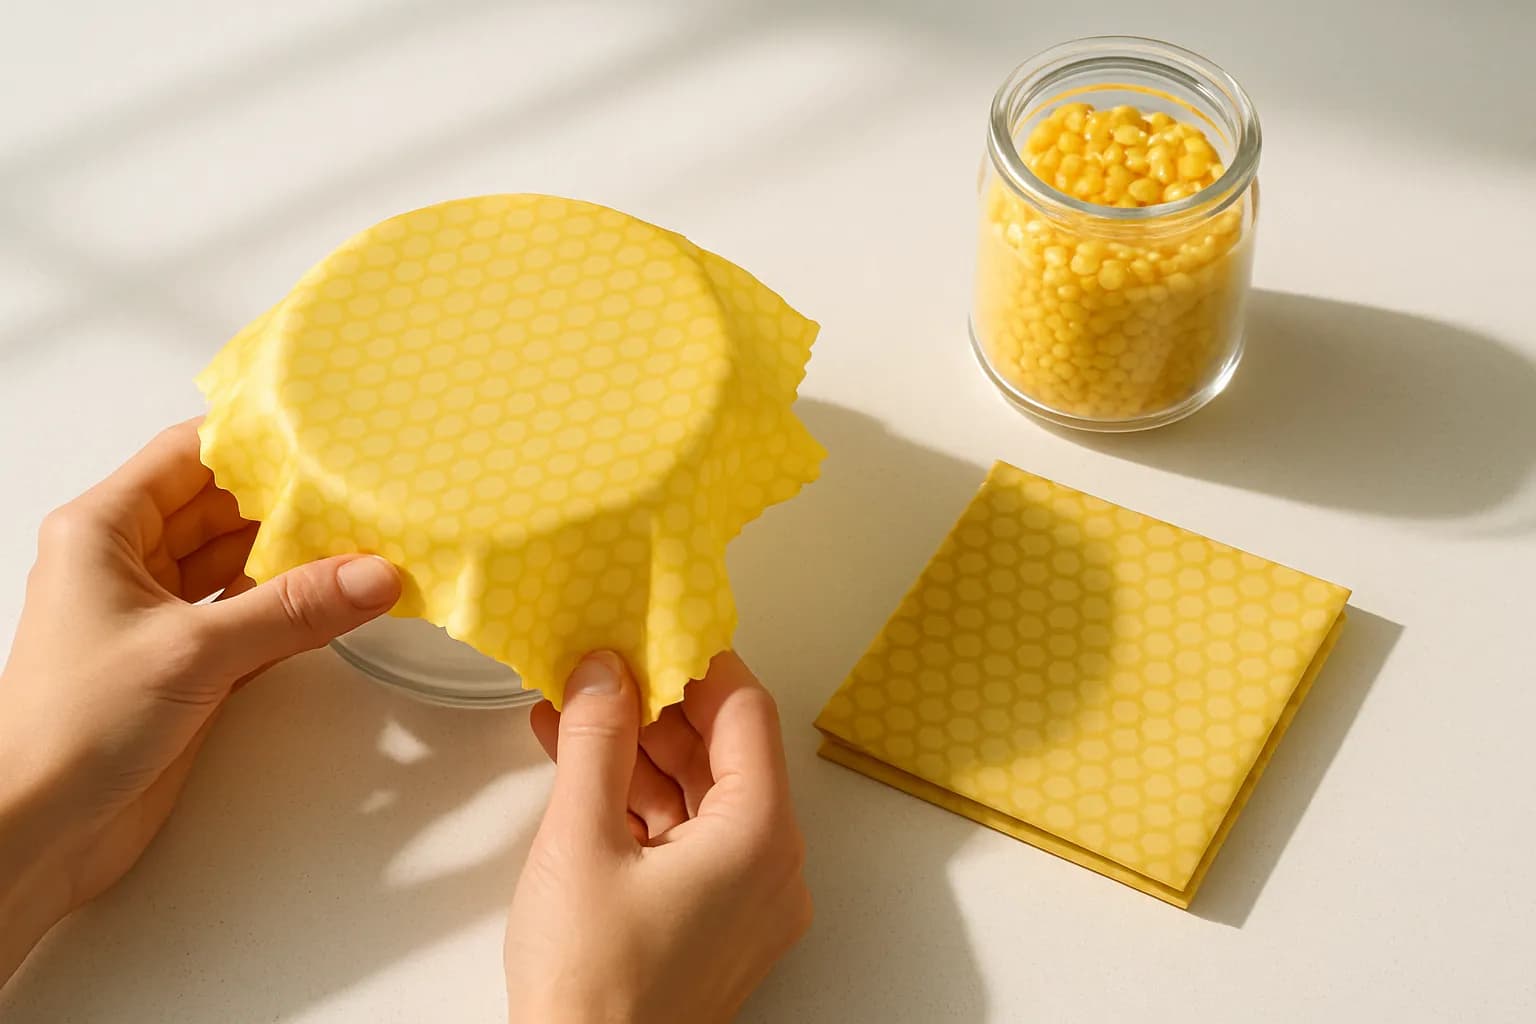
Mold a wrap around food or over a bowl with the warmth of your hands. They're perfect for cheese, cut fruit and veg, bread, and covering bowls — but skip raw meat, very hot food, the dishwasher, and the microwave. They slot right in alongside the rest of your plastic-free kitchen swaps.
Washing and how long they last
Rinse a wrap in cool water with a little mild soap and air dry — never hot water, which melts the coating. Made well and washed cool, a wrap lasts around 6 to 12 months of regular use. You'll know it's fading when it stops clinging and the coating looks thin or cracked. At the very end of its life, cut it up and add it to the compost — cotton and beeswax both break down.
Refreshing a tired wrap
When the cling weakens, don't remake it — revive it. Lay the wrap back between parchment and run a warm iron over it (or give it 2–3 minutes in a low oven) to re-melt and redistribute the wax. If it's been washed many times, scatter a few fresh pellets on first. Two minutes of work buys you months more use.
Troubleshooting
- Wax pooled or patchy? Too much in one spot — iron longer to spread it, and scatter a few pellets onto any dry, uncoated patches, then re-iron.
- No cling, won't stick? Usually too little wax, fabric that's too thick, or no tack additive — add a little pine resin and jojoba oil and re-melt, and use thinner cotton next time.
- Coating cracks or flakes? A little flexing is normal, but heavy cracking means it's too stiff — work in a teaspoon of jojoba oil when you refresh it.
- Wax on the iron? Always keep parchment between the iron and the wrap, and wipe the warm, unplugged iron with a paper towel if any transfers.
Variations to try
- A vegan version — swap the beeswax for candelilla or soy wax.
- A mixed set of sizes — small for jars and cut fruit, medium for sandwiches and cheese, large for bowls.
- Snack pouches — fold a small wrap and add a button-and-loop closure.
- Gift sets — three assorted prints tied with twine make a lovely, useful present, and pair beautifully with your other eco-friendly gift wrapping.
Ecoxee is an Amazon Associate and may earn from qualifying purchases through these links. Learn more.

Beeswax wrap DIY kit (all-in-one)
Everything for your first batch in a single box: wax bars, five assorted fabrics, a button, string, a brush, and clear instructions, so there is nothing to gather, measure, or guess at. It is the easiest possible way to try beeswax wraps, and it makes a genuinely lovely and useful gift for a crafty friend.

Bee's Wrap ready-made set (5-pack)
Rather skip the DIY part entirely? This trusted assorted five-pack is ready to use straight out of the packet, in the three most useful sizes for wrapping cheese, covering half a lemon, and sealing a bowl. Ideal if you want the plastic-free habit today without setting aside an afternoon to make your own.
Read our full review →Frequently asked questions
How do you wash beeswax wraps? Rinse in cool water with a little mild soap and air dry. Never use hot water, the dishwasher, or the microwave — heat melts the wax.
What can't you wrap? Raw meat and fish, and very hot food. They're perfect for cheese, cut fruit and veg, bread, and covering bowls.
Are they food-safe? Yes — beeswax, cotton, jojoba oil, and pine resin are all food-safe.
Do they smell of honey? Faintly at first; the scent fades within a few uses.
Can I make a vegan version? Yes — use candelilla wax or soy wax in place of the beeswax.
How many wraps does one shirt make? Plenty — a single cotton shirt or pillowcase yields several assorted sizes.
Wrap it up
There's real satisfaction in pulling a homemade wrap over a bowl and knowing it cost you pennies and no plastic. Make a few sizes, keep them by the fridge, and you'll reach for them without thinking.
Made a batch? Share your prettiest fabric prints in the comments at ecoxee.com — we love a good scrap-fabric rescue.
Keep reading: How to Store Herbs & Greens Without Plastic, Plastic-Free Bathroom Swaps That Actually Stick, and Reusable vs Disposable: What Actually Saves You Money.