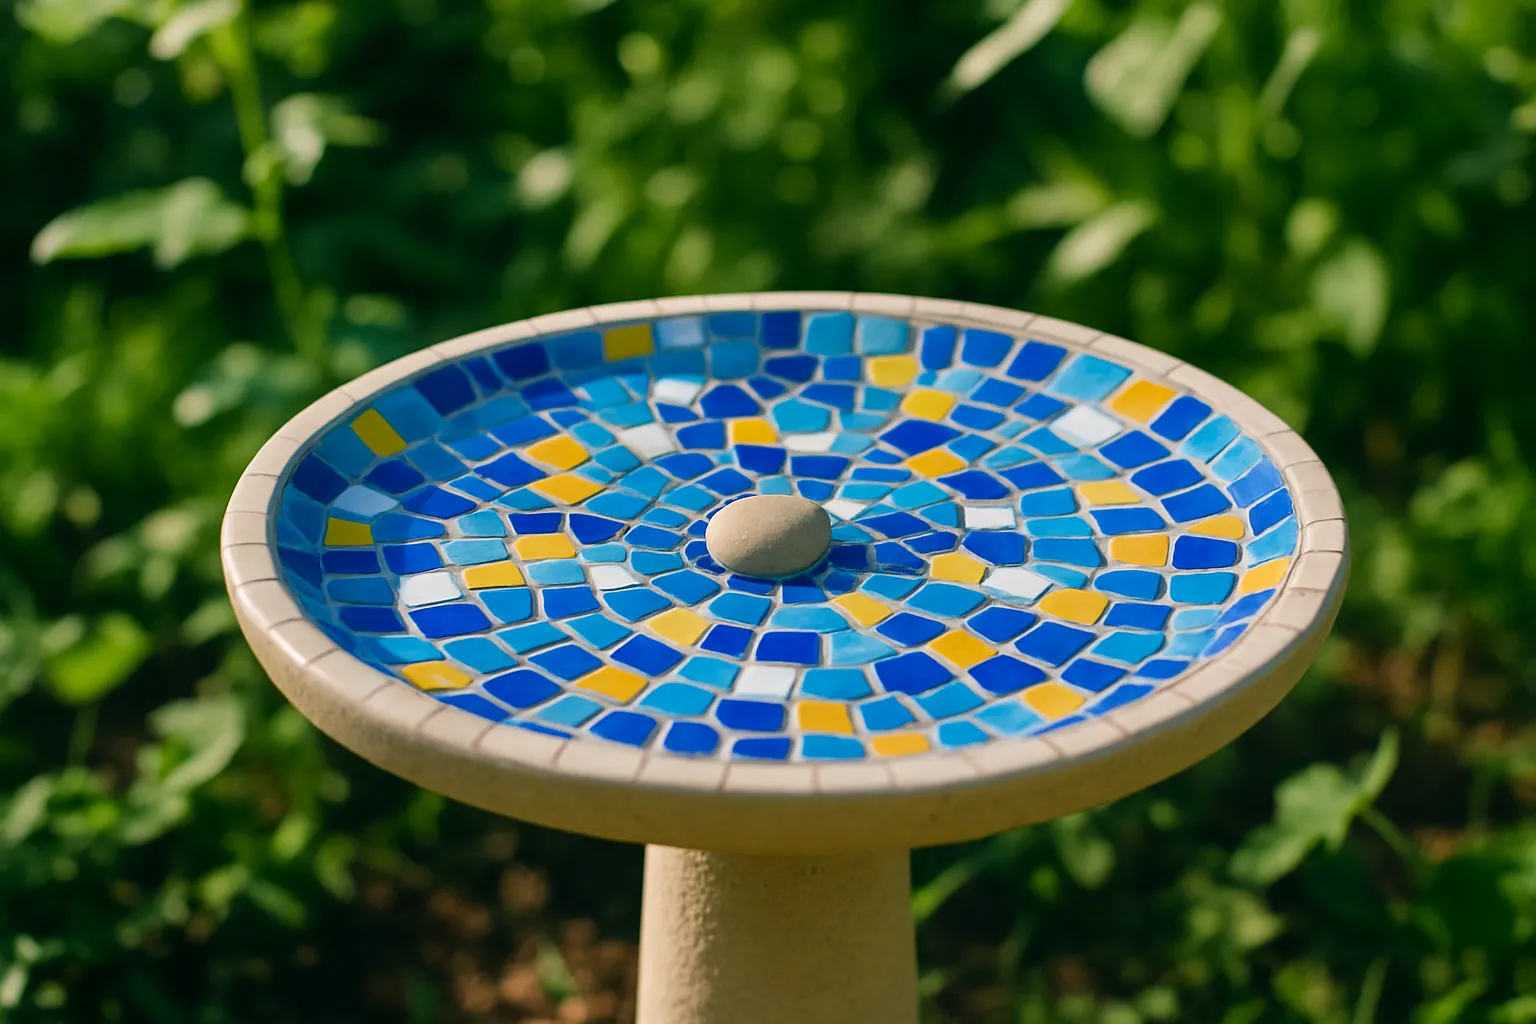
That drawer of chipped mugs and the cracked dinner plate you keep meaning to deal with — they're not trash, they're tesserae waiting to happen. A mosaic birdbath turns a pile of broken ceramic plates into a glittering centerpiece that birds actually use and neighbors actually ask about. It's forgiving, low-cost, and every piece you set makes the yard feel more like yours.
Let's upcycle that heartbreak pile into something the robins will fight over.
Why broken plates make the best mosaic material
Store-bought tiles are fine — but broken dishes beat them on every axis that matters:
- Free and endless. Chipped plates, orphaned saucers, that one mug with no handle. You already own the supply.
- Built for weather. Fired glaze is already waterproof and UV-proof. It'll outlast the birdbath itself.
- Real color variety. Vintage floral, solid cobalt, gold-rimmed china — you can't buy this palette in a craft-store pack.
- It means something. A cracked teacup living on as a birdbath rim beats it sitting broken in a drawer.
What you'll need
- A sturdy base — a terracotta plant saucer, a thrifted shallow bowl, or an old concrete birdbath top
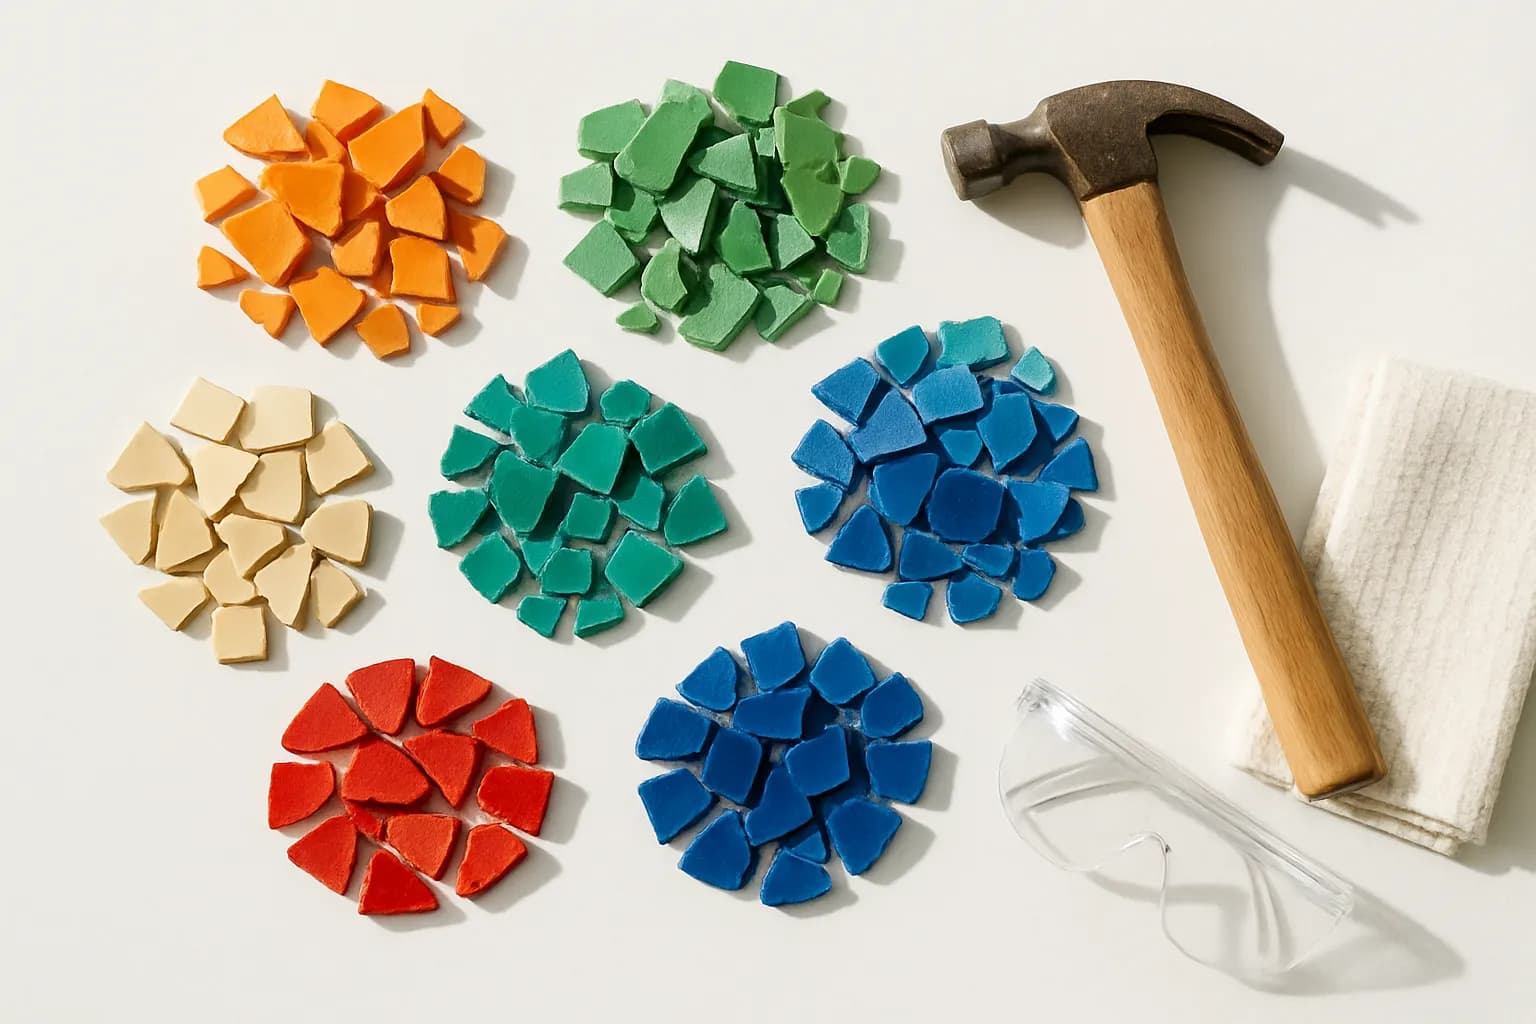
- Broken ceramic plates, tiles, or chipped mugs in assorted colors
- Safety glasses and heavy work gloves (non-negotiable)
- An old bath towel and a hammer (or tile nippers for more control)
- Waterproof outdoor tile adhesive (thinset or exterior-grade construction adhesive)
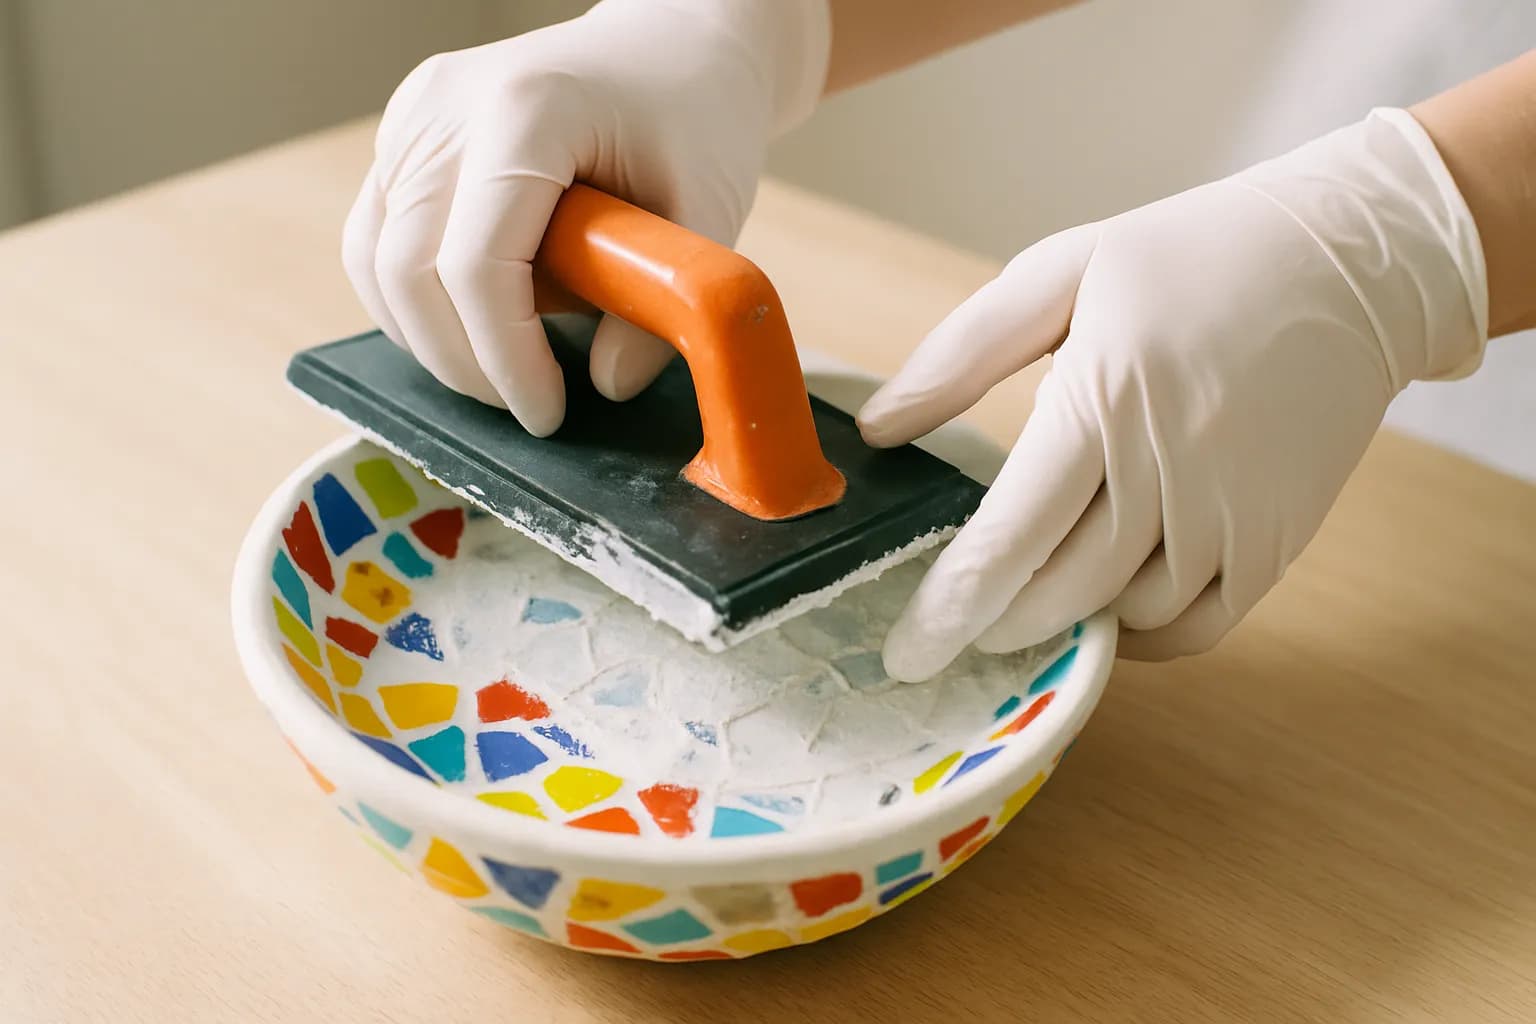
- Sanded grout, exterior grade
- A grout float or an old rubber squeegee
- A sponge and a bucket of water
- Outdoor grout sealer
- Optional: glass gems, marbles, or a shiny coin for a center accent
How to break plates safely (the fun part)
- Wrap the plate fully inside a folded old towel to contain flying shards.
- Put your safety glasses and gloves on. Every time.
- Tap, don't swing. Firm, medium taps give palm-sized pieces; a wild smash gives powder.
- Unwrap, pull out the good pieces, then wrap and tap again for the stubborn chunks.
- Sort as you go — big flat pieces for the floor, curved pieces for the rim, tiny bits for filling gaps.
Step-by-step: building your mosaic birdbath
- Clean and dry your base so the adhesive grabs.
- Dry-lay your design first — rim pieces, then work inward. Fix ugly gaps before anything's permanent, and snap a photo of the layout you like.
- Glue from the rim inward: butter the back of each piece, press firmly, and keep a small even gap (about 3–5 mm) for grout.
- Mind the edges — set pieces glaze-side up and tuck sharp points toward the center or file them down. Birds land here.
- Press a glass gem, marble cluster, or coin into the center as a focal point.
- Cure for 24 hours. Adhesive must fully set before grouting.
- Mix sanded grout to a peanut-butter consistency and push it firmly into every gap, working at angles.
- Wait about 15 minutes, then wipe the haze with a damp sponge, rinsing often. Two or three gentle passes clears the film.
- Cure again for 24–48 hours.
- Brush on outdoor grout sealer — this is what keeps standing water from crumbling your grout.
Where to place it (and keep it thriving)
- Partial shade keeps water cool and slows algae.
- Near cover, not on top of it — a shrub a few feet away gives birds an escape route, but keep cats from ambushing.
- Shallow water only, 1–2 inches, with a central pebble as a stepping stone.
- Clean weekly — dump, scrub with plain water, refill. Skip soap.
- Beat the freeze — empty it or bring it in before the first hard frost, or trapped water will crack the grout.
Your turn to splash some color
No two mosaic birdbaths look alike — yours will carry whatever plates, colors, and happy accidents made it. Set it out, fill it up, and give the neighborhood robins something to gossip about.
Made one? Drop a photo or your favorite shard-sourcing trick in the comments at ecoxee.com — your color combo might be exactly the spark another reader needs.
Keep reading: How to Turn an Old Wooden Ladder Into a Blanket Rack, Crafts Using Old Books to Repurpose, and Creative Ways to Reuse Old Windows & Doors.